Mastering Mac keyboard shortcuts is key to enhancing productivity and efficiency for Mac users.
Once you’ve memorized these shortcuts and they become second nature, you can complete routine tasks and actions without reaching for your mouse or trackpad, using just your keyboard.
For Mac beginners or those who’ve just acquired a Mac, getting used to new key combinations can take time, and memorizing keyboard shortcuts might seem daunting.
That’s why in this article, I, a daily Mac user for over 10 years, will introduce only the essential Mac keyboard shortcuts that I feel are “must-knows” for maximum benefit.
I’ll also share tips on how to remember and internalize each keyboard shortcut.
By mastering these carefully selected shortcuts, you’ll be able to significantly speed up all your work and tasks on Mac.
From beginners to power users, you’ll be able to reap the benefits of keyboard shortcuts starting today.
Keyboard Shortcuts to Supercharge Cursor Movement
How do you move the cursor when typing text on your Mac?
Most people probably use methods like “clicking the desired input position with the mouse or trackpad” or “using the arrow keys on the keyboard to move the cursor.”
Using a mouse or trackpad requires you to move your hand from the keyboard, which is cumbersome and can lead to fatigue during long work sessions.
Even when using arrow keys, you need to press them repeatedly to move the cursor long distances, which can also be tiring.
Mac has keyboard shortcuts that can dramatically speed up cursor movement.
I highly recommend memorizing at least these. Once you learn them, they’ll improve the efficiency of all your future Mac work, making them shortcuts with an extremely high return on investment.
| Shortcut | Function | Mnemonic |
|---|---|---|
| Control + A | Move to beginning of line | “At the beginning” |
| Control + E | Move to end of line | “End” |
| Control + F | Move right one character | “Forward” |
| Control + B | Move left one character | “Backward” |
| Control + P | Move up one line | “Previous” |
| Control + N | Move down one line | “Next” |
These shortcuts combine the Control key with a single letter to instantly move the cursor not only left and right but also to other lines, and to the beginning or end of a line.
A major advantage is being able to move the cursor without moving your hands from the home position.
These shortcuts are easy to remember as they use the first letter of related English words.
For example, Control + A uses “A” from “At the beginning” to indicate moving to the start of the line. Including the corresponding English words in the table above is a shortcut to memorization.
| Shortcut | Function |
|---|---|
| Command + ← | Move to beginning of line |
| Command + → | Move to end of line |
| Command + ↑ | Move to beginning of document |
| Command + ↓ | Move to end of document |
| Option + ← | Move to beginning of previous word |
| Option + → | Move to end of next word |
Additionally, combining the Command or Option key with the regular arrow keys allows you to move the cursor by sentence or word units at once.
The Option key’s word-by-word movement is particularly useful when writing text.
It jumps the cursor to the beginning or end of English words, or to punctuation marks in Japanese text.
When you want to go back just one word or sentence, repeatedly pressing the arrow key isn’t elegant. With the Option key and arrow keys, you can instantly move to the desired location.
Keyboard Shortcuts to Accelerate Text Deletion, Selection, and Insertion
Not only cursor movement, but text deletion and insertion can also be done quickly and efficiently with keyboard shortcuts.
The keys used are very similar to those for cursor movement shortcuts, so it’s recommended to learn them in combination.
| Shortcut | Function | Mnemonic |
|---|---|---|
| Control + H | Backspace (delete one character to the left) | “Hurl back” |
| Control + D | Delete (delete one character to the right) | “Delete forward” |
| Control + K | Delete from cursor to end of line | “Kill to end” |
Control + K is convenient for deleting everything to the right of the cursor at once.
You can delete an entire line without moving your fingers from the home position by moving to the beginning of the line with Control + A and then deleting to the end with Control + K.
Control + H / D behave the same as using the Backspace / Delete keys, but the point is that you can delete text without moving your fingers from the home position.
| Shortcut | Function |
|---|---|
| Option + Delete | Delete the word to the left of the cursor |
| Command + Delete | Delete text from cursor to beginning of line |
The roles of Command and Option are almost the same as in cursor movement.
Using the Option key allows deletion by word units, while the Command key enables deletion by line units.
Here are keyboard shortcuts for selecting and inserting text, such as for copy & paste operations:
| Shortcut | Function |
|---|---|
| Command + A | Select all |
| Command + Shift + ← | Select to beginning of line |
| Command + Shift + → | Select to end of line |
| Command + C | Copy |
| Command + X | Cut |
| Command + V | Paste |
| Command + Z | Undo |
| Command + Shift + Z | Redo |
By combining “Command + Shift + ← / →” for bulk text selection by sentence and “Command + X / V” for cut & paste, you can move specific sentences to other lines using just the keyboard.
While copy & paste and cut & paste are likely well-known keyboard shortcuts, combining them with cursor movement shortcuts can further improve work efficiency.
App and Window Management Shortcuts to Boost Productivity
Now, let’s introduce keyboard shortcuts that speed up app launching, quitting, and switching.
Here’s a list, but I’ll highlight and provide specific usage examples for the main shortcuts:
| Shortcut | Function |
|---|---|
| Command + Space | Open Spotlight |
| Command + H | Hide active window |
| Command + Option + click | Hide all apps |
| Command + Tab | Switch apps |
| Command + M | Minimize app |
| Command + Q | Quit app |
| Command + Option + Escape | Force quit app |
| Command + Control + Q | Lock Mac |
Instantly Launch Apps and Files with Spotlight (Command + Space)
Spotlight is a must-master feature for Mac users.
The Command + Space command is essential to remember.
Spotlight allows you to instantly find and launch apps or open files by simply typing their names into a search bar that appears on the desktop.
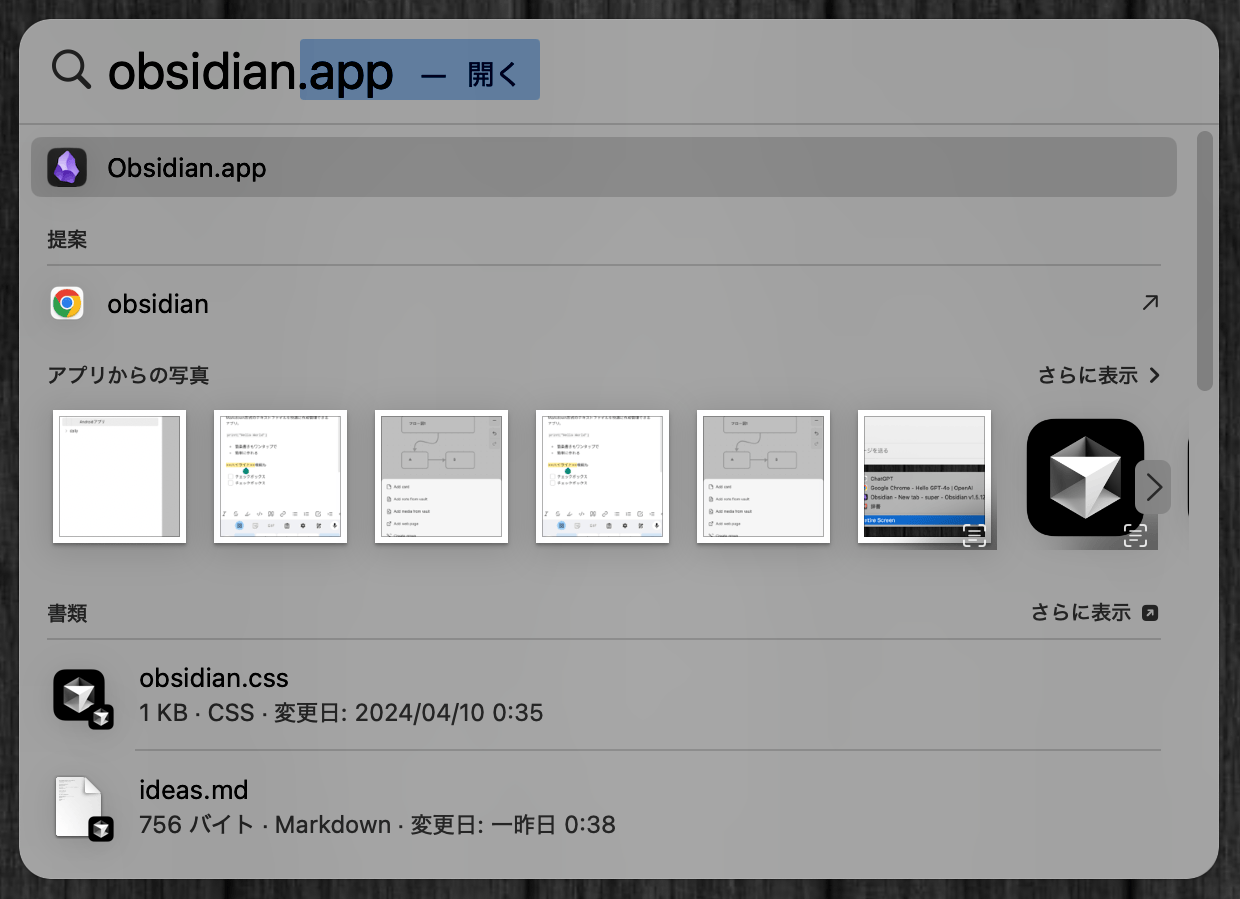
It’s great because you can launch apps using just keyboard operations, eliminating the time spent searching for apps in Launchpad.
Opening files and folders is also easy, as you can find them just by entering their names. This greatly reduces the hassle of opening Finder to search for files or folders.
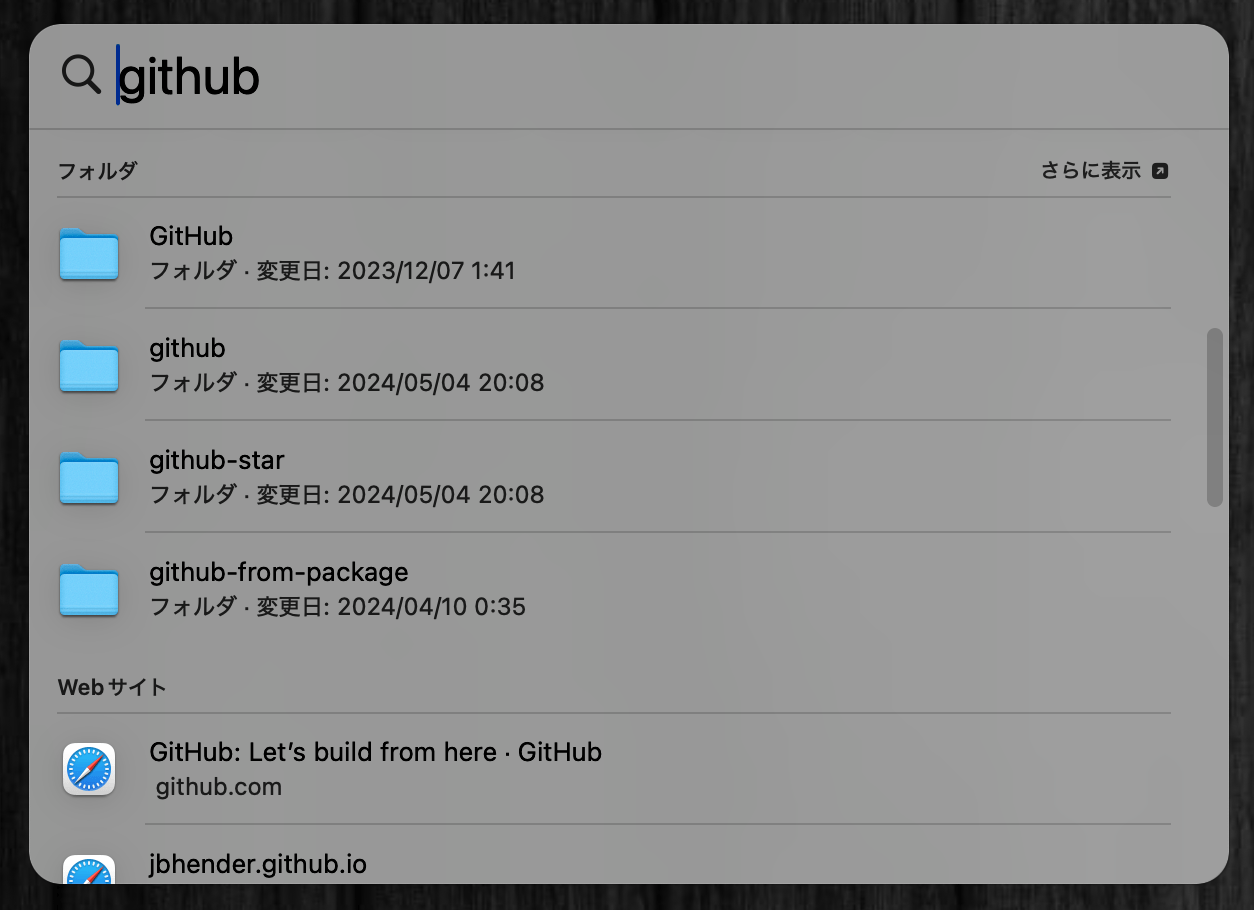
It might take some time to get used to at first, but once you start using it, you’ll find using Finder or Launchpad with a mouse or trackpad so inefficient that you won’t be able to let go of Spotlight.
Instantly Hide Windows (Command + H, etc.)
Command + H allows you to instantly hide the currently active window.
Also, Command + Option + click can hide all apps except the one you clicked. Clicking on the desktop will hide all windows.
This is very convenient when you want to temporarily hide windows open on your desktop during a Zoom web conference, for example.
Also, having multiple apps and windows open can be distracting and reduce work efficiency, so mastering Command + H can help create an environment where you can focus on your work.
Switch Between Running Apps (Command + Tab)
After hiding all apps with Command + Option + click, you often want to reopen only the necessary apps.
Using Command + Tab displays icons of running apps, and repeatedly pressing the Tab key allows you to select apps.

Quit and Minimize Apps with Keyboard (Command + Q / M)
One of the first things Windows users struggle with when switching to Mac is that pressing the red button in the top left of the window often just minimizes the app instead of quitting it, leaving it running in the background.

The Command + Q keyboard shortcut completely quits the app. Regularly quitting apps can free up system resources like memory.
It’s easy to remember as it comes from the word “Quit”.
Also, the command to “Minimize” a window is Command + M.
Lock Your Mac Before Leaving Your Seat (Command + Control + Q)
Command + Control + Q is the command to lock your Mac.
It prevents your Mac from being opened without fingerprint authentication or password re-login.
This is a very frequently used and important keyboard shortcut, such as always locking your Mac before going to the restroom in the office.
It’s an important security shortcut that ensures safety even during short absences from your seat.
Common File Operation Shortcuts Across Various Apps
There are also keyboard shortcuts that work commonly across most Mac apps.
Especially when creating new files, opening existing files, or saving work-in-progress files, almost all apps use common shortcuts.
These can be used in various applications such as text editors, spreadsheets, and presentation software.
Using Command + S to frequently save your work-in-progress file is essential to prevent data loss due to crashes.
| Shortcut | Function |
|---|---|
| Command + N | Create new document |
| Command + O | Open file |
| Command + S | Save |
| Command + Shift + S | Save as |
| Command + P |
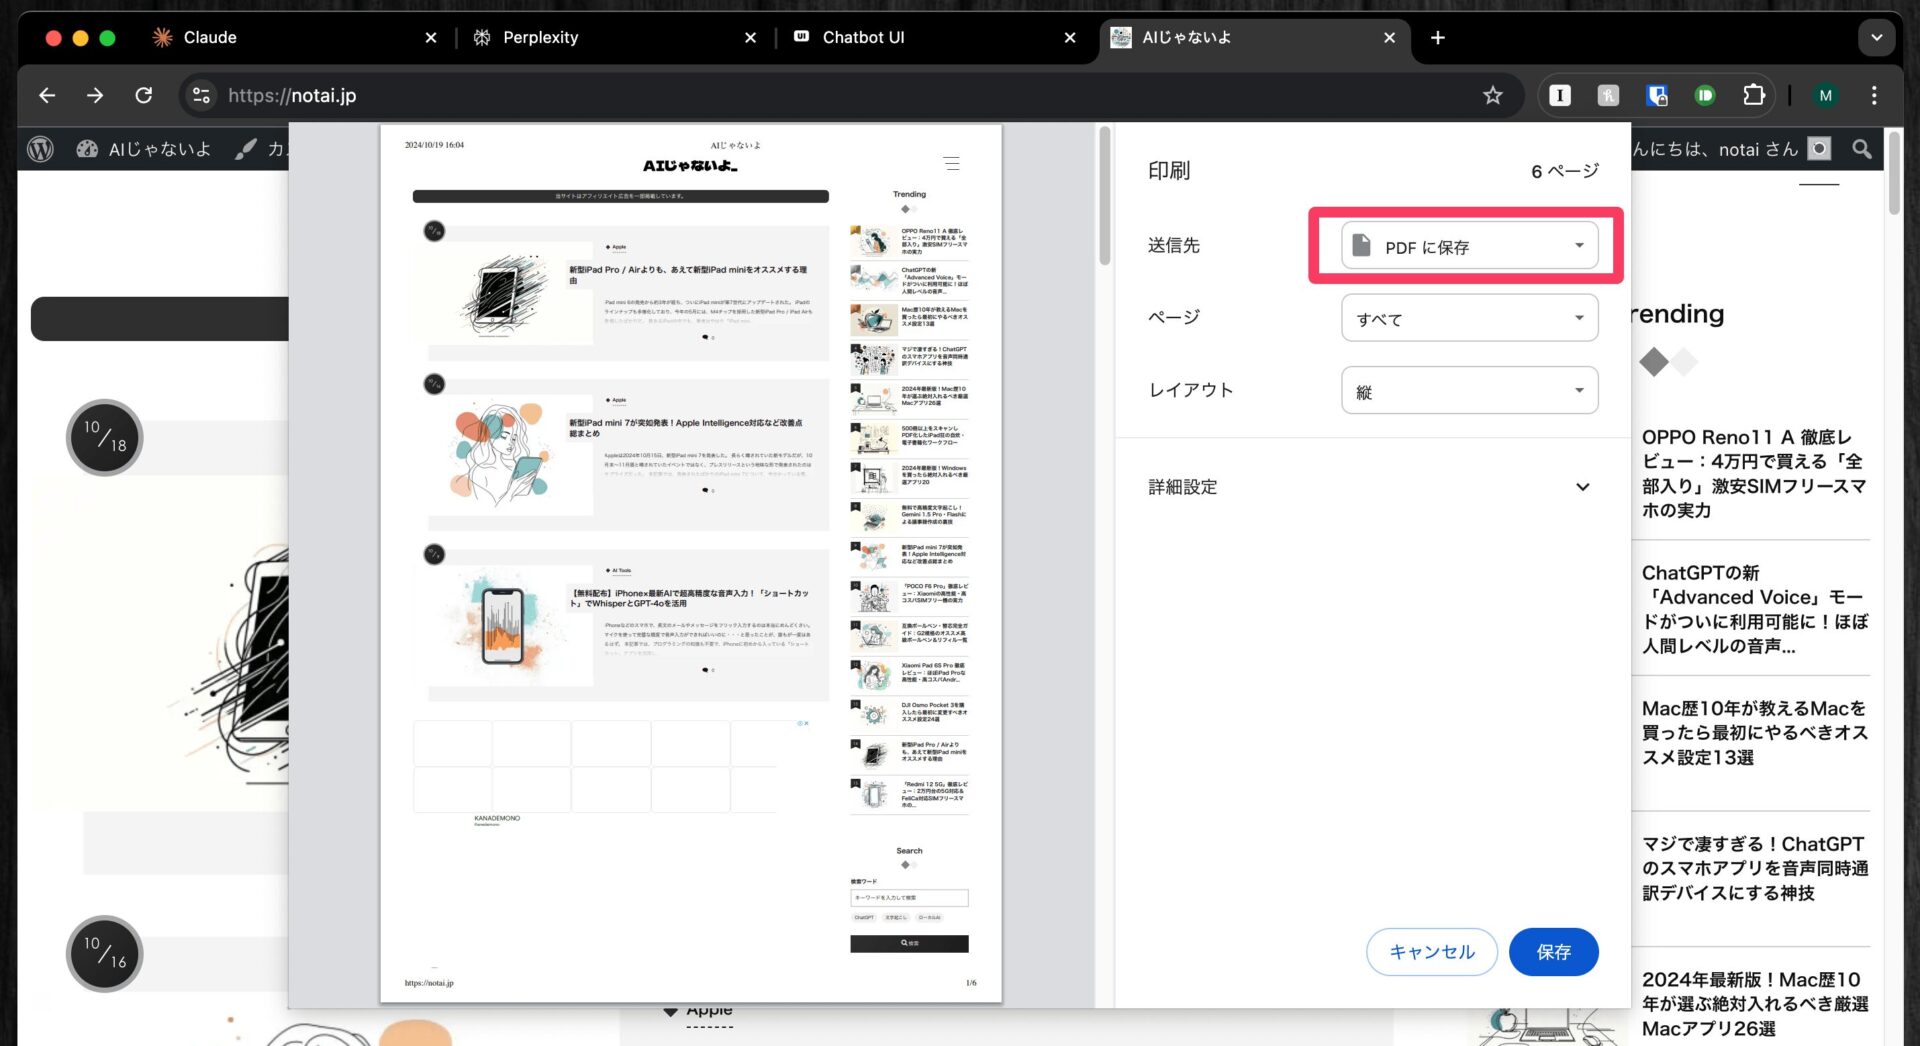
Also, “Print” with Command + P is a frequently used keyboard shortcut.
Of course, it’s used for printing with a printer, but you can also save web pages opened in Google Chrome as PDFs from the “Print” menu.
Browser Shortcuts
Various keyboard shortcuts can be used in browser apps like Safari and Google Chrome, which are essential for browsing websites on Mac.
Shortcuts for opening tabs, going back and forward are common across other Mac apps and systems, so remembering them can greatly improve work efficiency.
| Shortcut | Function |
|---|---|
| Command + [ | Go back to previous page |
| Command + ] | Go forward to next page |
| Command + T | Open new tab |
| Command + W | Close current tab |
| Command + L | Move focus to address bar |
| Command + F | Find on page |
The Command + ] / [ shortcuts correspond to the browser’s back/forward buttons. Using these shortcuts allows you to quickly navigate to previous or next pages without using the mouse.
Also, along with Command + Q to quit apps, it’s useful to remember Command + W. This is a keyboard shortcut to close the currently open window without quitting the app.
It not only closes tabs in Safari but also works similarly in Finder, and can be used in various other apps when you want to close a window without quitting the app.
File Operation Shortcuts in Finder
These are also frequently used keyboard shortcuts in daily use.
They are shortcuts for deleting files or organizing them into folders in Finder.
| Shortcut | Function |
|---|---|
| Command + Shift + N | Create new folder |
| Command + Backspace | Move to Trash |
| Command + Shift + Backspace | Empty Trash |
| Space | Quick Look in Finder |
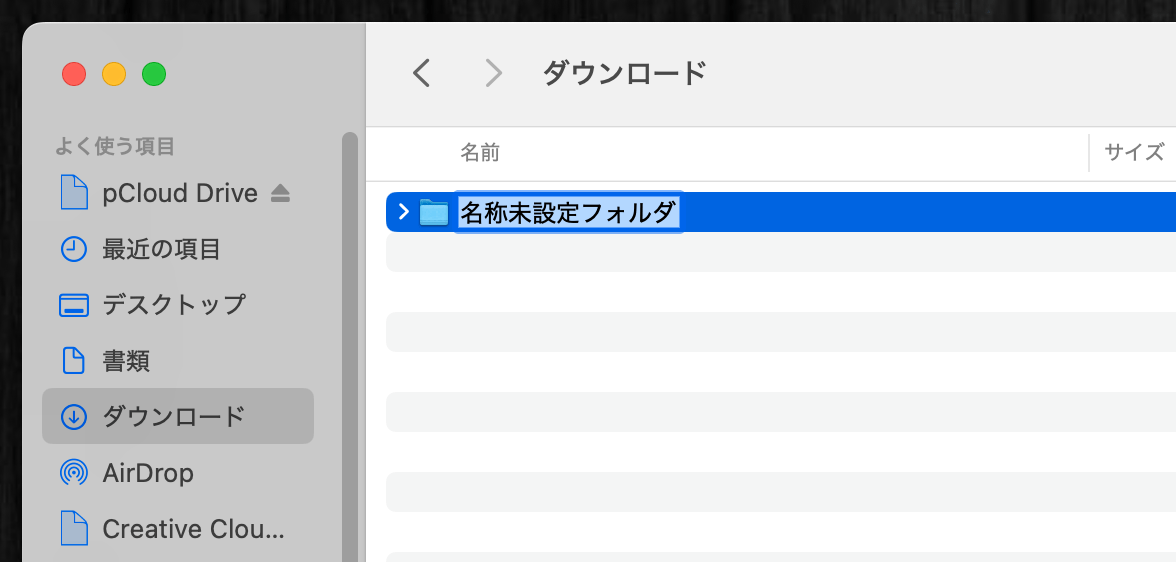
Command + Shift + N is indispensable for efficient file management.
It allows you to quickly create folders when creating new folders for each project or organizing downloaded files. It helps in developing a habit of organization.
When deleting unnecessary files, right-clicking with the mouse each time wastes time, so being able to quickly delete files with Command + Backspace is very convenient.
Also, the Space bar is more of a key behavior rather than a keyboard shortcut, but by simply pressing the space bar when a file is selected, you can quickly preview the file contents.
For example, when checking a list of photos, pressing the space bar will preview that photo, and you can move through files with arrow keys to preview each file in succession.
Shortcuts for Various Types of Screenshots
Mac not only has commands for taking screenshots of the entire screen but also provides keyboard shortcuts for taking screenshots of only specified areas, such as selected regions or specific windows.
| Shortcut | Function |
|---|---|
| Command + Shift + 3 | Full screen screenshot |
| Command + Shift + 4 | Selected area screenshot |
| Command + Shift + 4 + Space | Window screenshot |
| Command + Shift + 5 | Display screenshot toolbar |
For example, pressing Command + Shift + 4 allows you to specify a range by dragging the mouse as shown below. You can obtain a screenshot of only this specified area.
This allows you to accurately capture only the necessary information, such as parts of web pages, specific features of applications, or error messages. It’s also useful for privacy protection as you can share without including unnecessary information.

Also, if you want to use advanced features like video capture, timed screenshots, or selecting save locations, it’s convenient to call up the screenshot toolbar with Command + Shift + 5.
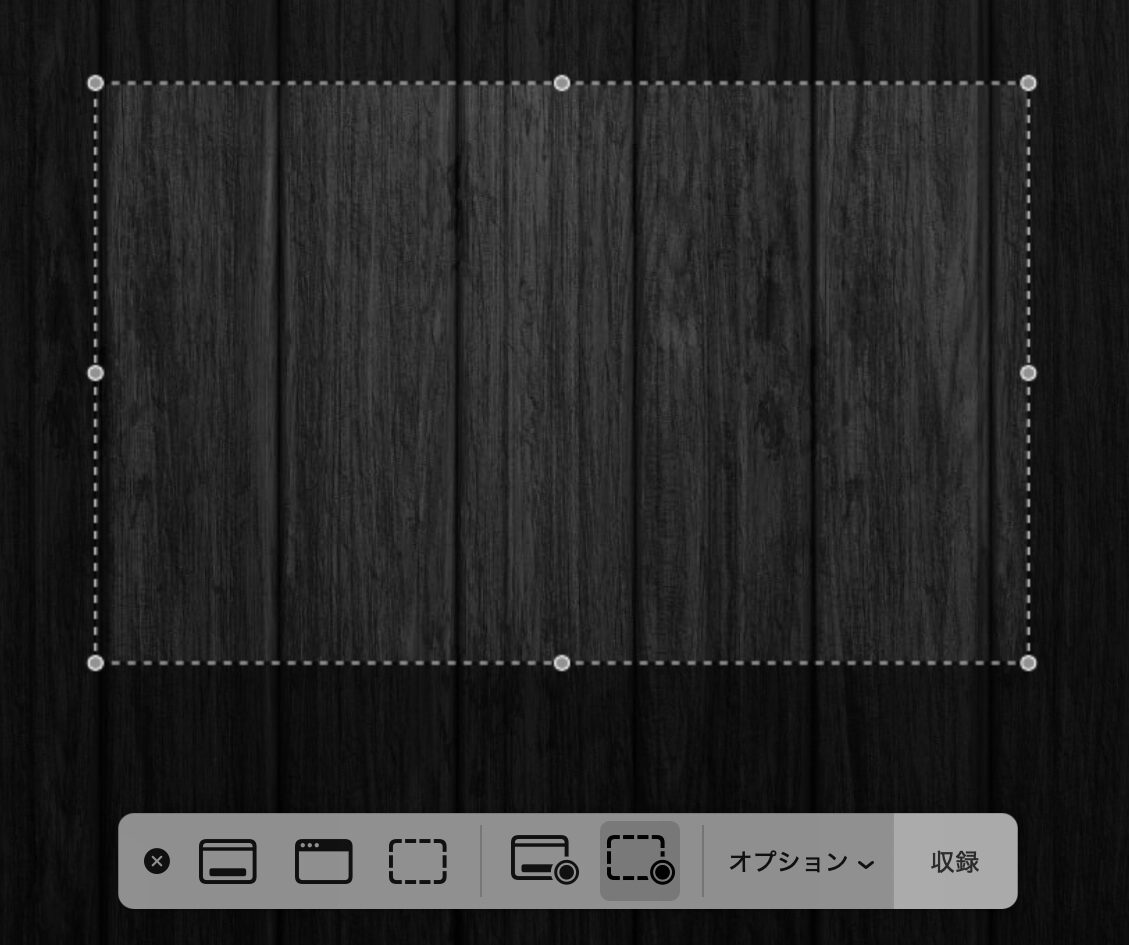
This allows you to access a wider range of screenshot options, such as saving only the selected area as a video.
